Part Tracking: Ensuring Consistency from Machining Through Final Pack
At A&G Machine, we understand that our work forms the foundation upon which our clients build their own products and reputations. For over forty years, we’ve evolved from a small garage operation to a manufacturer with five facilities, constantly embracing methods that bring greater control and clarity to our processes. One such method, digital part tracking, woven together with automated final inspections, creates a thread of accountability that guarantees every kit we ship is complete, correct and prepared for immediate installation.
What is Digital Part Tracking?
Imagine a system where every single component, from the largest airframe structure to the smallest mount, has a living history. Digital part tracking makes this a reality. It’s a process that assigns a unique digital identity to each part from the very beginning of its life on our shop floor. This identity follows the component through every single operation: machining, fabrication, assembly and inspection.
This is not simply a modern replacement for paper travelers. It is a centralized nervous system for your order. It provides a real-time view of progress, captures vital data points at each station and creates an unforgeable record of the part’s journey. This constant visibility allows our teams to monitor status and manage workflow with a high degree of certainty, preventing errors and delays before they can occur.
Automated End-of-Line Inspection
While tracking monitors the journey, the end-of-line inspection validates the destination. As products complete all manufacturing stages, they go through a final verification before packing. This end-of-line (EOL) inspection acts as the last guard, confirming that every product meets defined quality standards and functions as intended.
We use automated systems to put each product through a consistent series of checks. These systems can include vision inspection systems that use advanced cameras to detect visual flaws like scratches or material inconsistencies that a human eye might miss. For mechanical components, techniques like vibroacoustic testing can show hidden issues. By analyzing a product’s vibration and sound signature, the system can identify internal defects such as imbalances or imperfections in gear teeth without any physical disassembly. This automated approach removes subjectivity, speeds up the verification process and provides a data-rich foundation for our quality assurance.
From Machining to Final Packing
The true strength of our process lies in how part tracking and final inspection work in concert. The digital tracking record, which began at the first machining operation, is accessible to the automated inspection systems. When a part arrives for its final check, the system already knows its history and specifications.
This connection allows for a smooth and informed hand-off. The inspection system can verify that all required operations logged in the part’s digital record have been completed. It can then perform its functional and visual tests, adding its results to the part’s permanent digital transcript. This creates a closed-loop process where data flows uninterrupted from the initial billet of material to the final packed product, ready for shipping. Our large-scale coordinate measuring machines (CMMs) and Leica laser trackers, capable of measurements down to one-thousandth of an inch, contribute to this data stream, validating the physical dimensions of large and complex pieces against their digital design.
What Our Partners Receive
When you receive a kit from A&G Machine, you receive more than just hardware. You receive certainty.
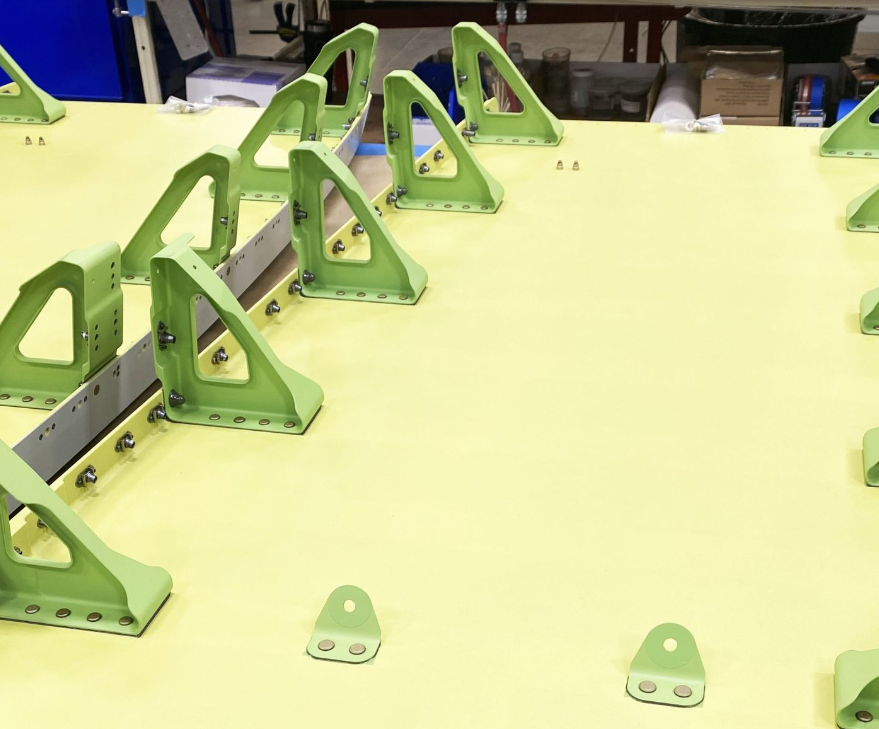
- Complete Kits: The combination of part tracking throughout assembly and final visual inspection confirms that every item is present and properly configured. This eliminates the frustration and project delays caused by missing components.
- Compliant Products: Your kits are verified to meet all necessary standards. The objective data from our automated inspections provides clear evidence that the products are built to specification and are fit for their mission, whether that mission is on a commercial aircraft, a defense platform or in space.
- Ready for Installation: With all parts confirmed present and compliant, and with a full digital history available, your team can integrate our components with confidence. This readiness helps keep your production lines moving smoothly and efficiently.
Building on a Strong Foundation
Our dedication to these processes stems from a company culture that puts our employees and their work first. We maintain a clean, organized and safe factory where our team can focus on delivering outstanding results. The knowledge that our components are found on commercial, defense and space platforms reinforces our responsibility to get every detail right. By investing in digital part tracking and automated inspection, we provide our machinists and assembly teams with the best tools to uphold the quality we are known for.
Let Us Show You the Difference
For us, part tracking and automated inspections are more than procedures. They are our promise to you. They are how we deliver the consistency and reliability that allows your projects to succeed.
Discover how A&G Machine’s detailed approach to manufacturing can bring clarity and confidence to your supply chain. Reach out to us today to discuss your next project.


